
Gemini
“Gemini is a New York trust company regulated by the New York State Department of Financial Services (NYSDFS). We are subject to capital reserve requirements, cybersecurity requirements, and banking compliance standards set forth by the NYSDFS and the New York Banking Law. Gemini is also a fiduciary and Qualified Custodian.”
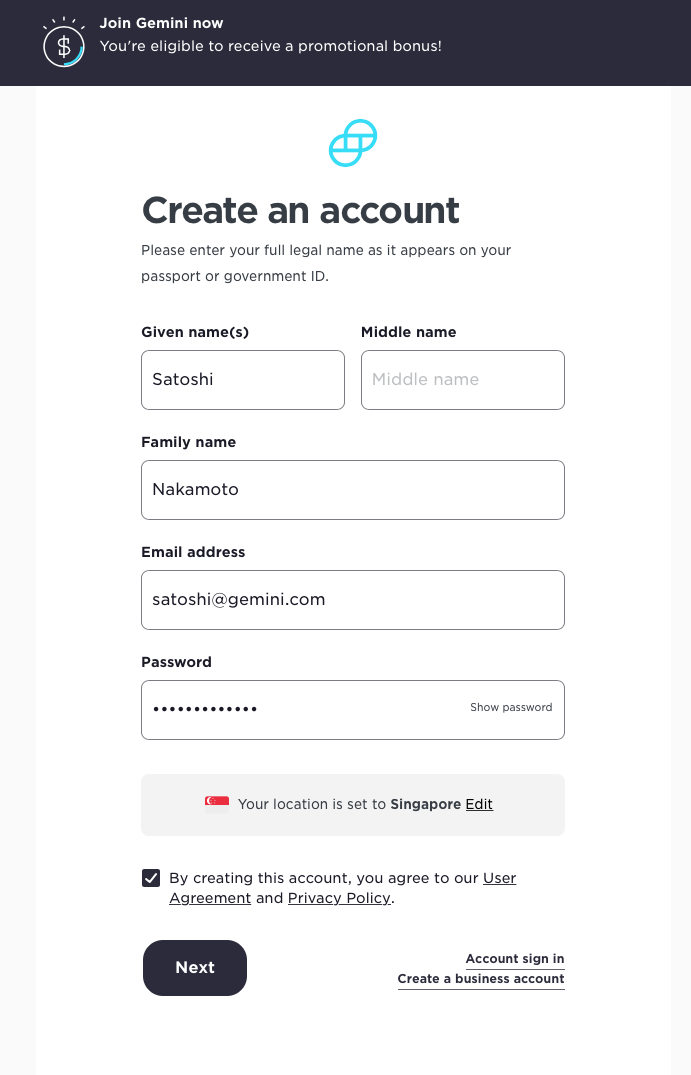
Setting Up A Gemini Account

Step 2: Fill in your particulars
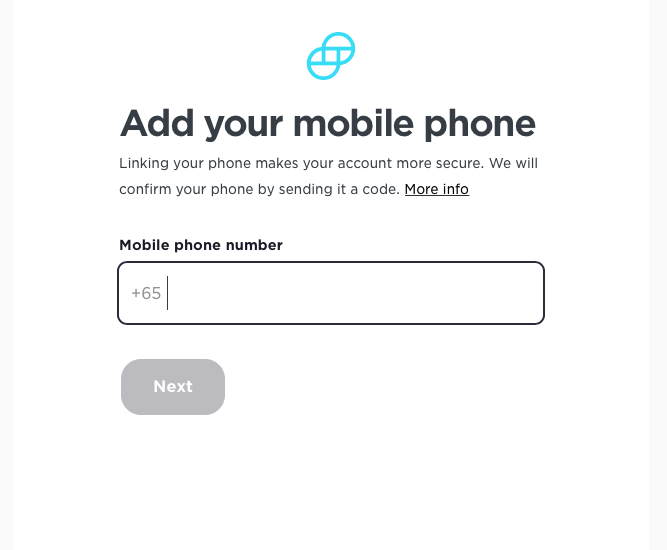
Step 3: Add a mobile phone number
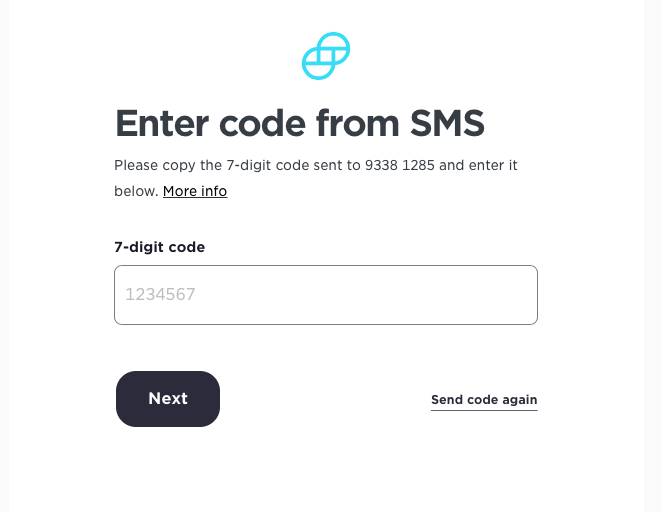
Step 4: Key in the SMS code that is sent to your mobile number
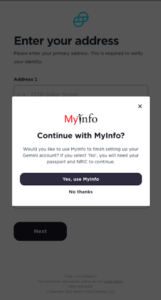
Step 5a: Fill up your personal particulars with MyInfo or;
*Applicable to Singapore Citizens only.
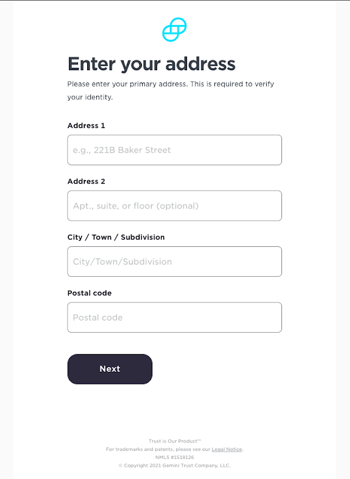
Step 5b: Manually fill in your information.
If you choose to manually fill out your personal particulars, you will need to prepare the following documents:
1. Photograph of your passport photo page
2. Photograph of Driver’s License / Identification Card
Once you have submitted the information, it could take up to a few days for Gemini to verify your identity. We recommend opening an account as soon as possible; you don’t want to be anxiously waiting for your account to be verified when the market is in full swing!
Securing your Gemini Account
Just as banks send an SMS to ensure that only the owner of the bank account can make a transaction, cryptocurrency exchanges also incorporate this added layer of security to help keep their customers safe.
Here, we will be showing you how to set up your 2FA on your accounts.
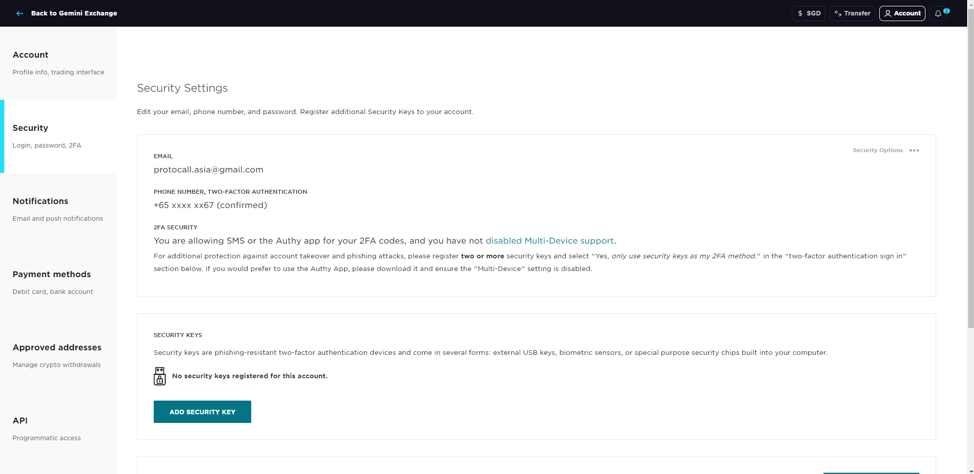
From the main dashboard, click on the ‘Account’ tab at the top right of the page, followed by ‘Settings’.
From there, click on ‘Security’ on the right of the page.
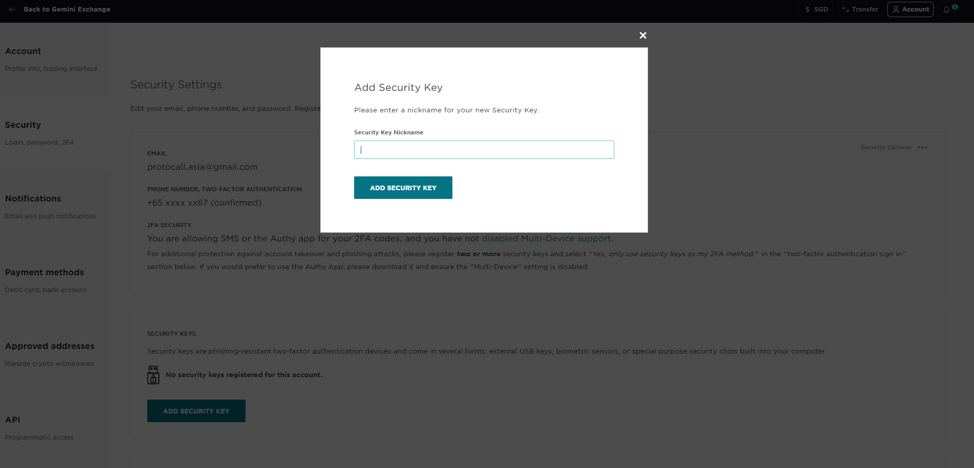
Select ‘Add Security Key’
Key in a nickname for your Security.
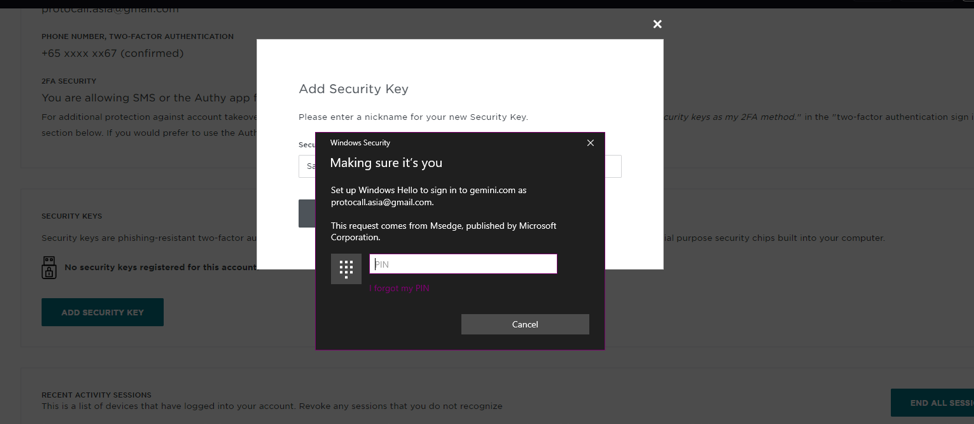
Gemini uses your hardware (computer) to verify that you are really signing in. As we are using a Windows computer, the hardware authentication is from Microsoft, requiring a Microsoft PIN to continue.
With your account properly secured, it’s time to get some cryptocurrency!
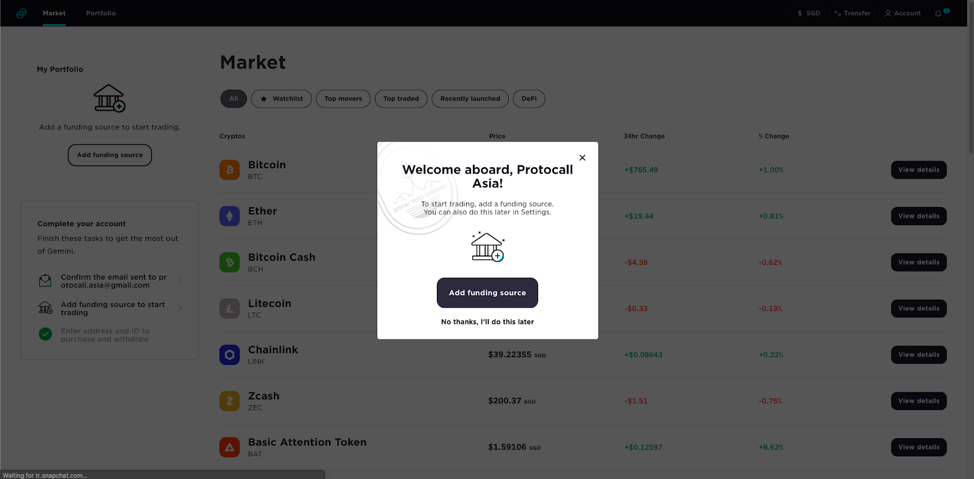
Adding Funds into Gemini
To start buying cryptocurrencies on Gemini, you first have to link your funds to your account.
Click on ‘Add Funding Source’ to open up the following page.
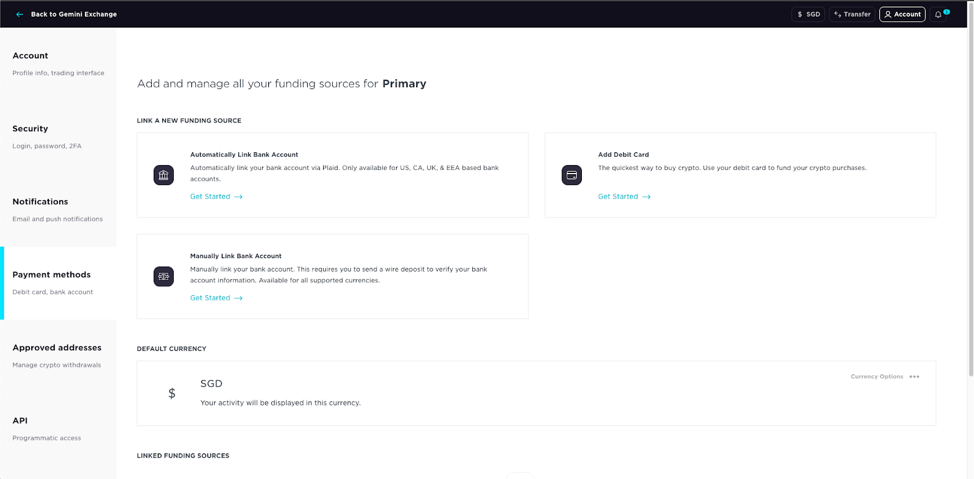
Method 1: Using Debit Card
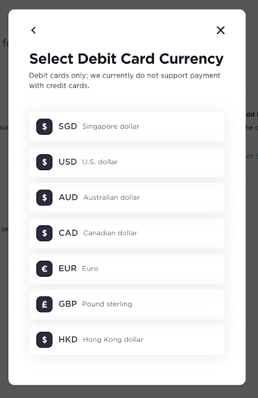
Step 1: Click on ‘Add Debit Card’ and select the currency you wish to use to purchase cryptocurrency.
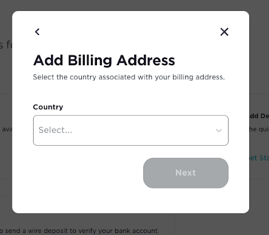
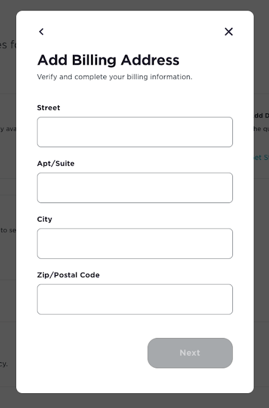
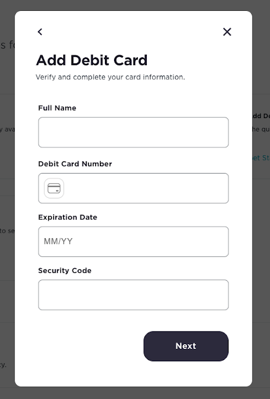
Step 2: Fill out the Debit Card information.
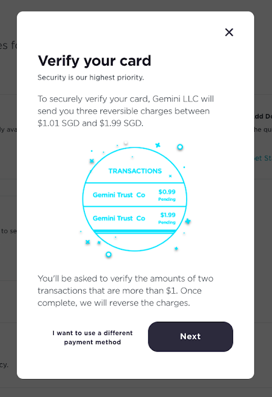
Step 3: Verify your debit card
Gemini will send you three reversible charges of random amounts, two of which will be more than $1. Verify the amounts of the two charges that are above $1, and your card will be confirmed, as well as the charges cancelled.
When your debit card has been verified, you will be able to start purchasing cryptocurrencies.
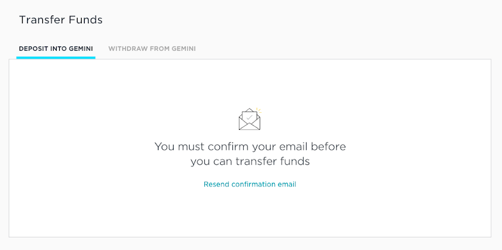
Method 2: Linking Bank Account
Linking a bank account requires you to confirm your email before you can proceed.
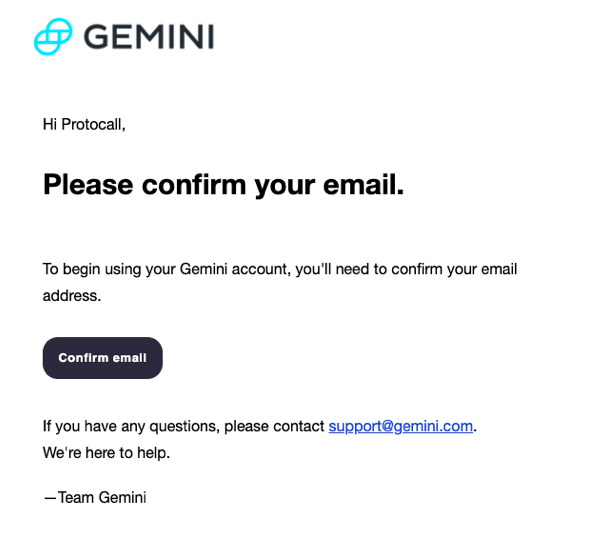
To confirm your email, head to your email account and follow the instructions that were sent from Gemini.
After your email has been confirmed, you may begin linking your bank account to your Gemini account.
Step 1: Click on ‘Manually Link Bank Account’ and choose the currency you wish to use. In this exercise, we are using the U.S dollar (USD).
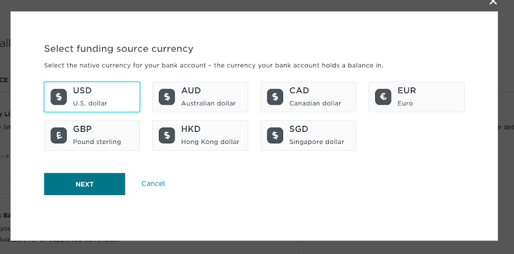
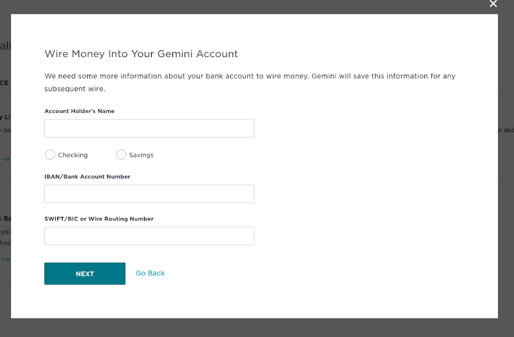
Step 2: Fill in your bank account details
Step 3: Transfer money from your bank account
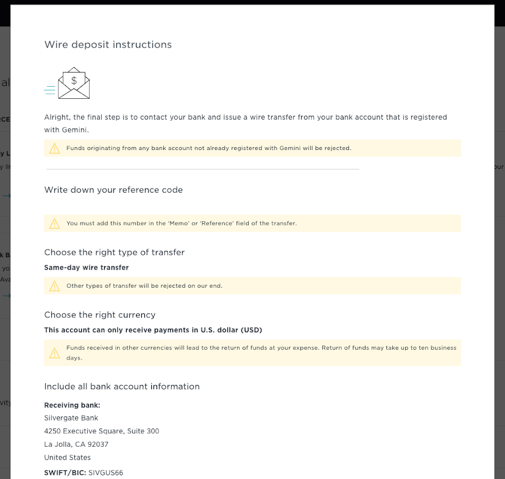
This method is slightly more complicated than using a debit card. To transfer the money, you first have to login to your Internet Banking, and send a wire transfer to Gemini.
Please pay particular attention to the following:
- Remember to key in the reference code (written in the Memo or Reference of your wire transfer)
- Ensure that the currency transferred is the same as the currency you indicated in Step 1, as the transaction will bounce if the wrong currency is sent. In this exercise, we are using U.S Dollars (USD)
- Double-check that the receiving bank account information is accurate
- Make sure the transfer type is set to ‘same-day wire transfer’
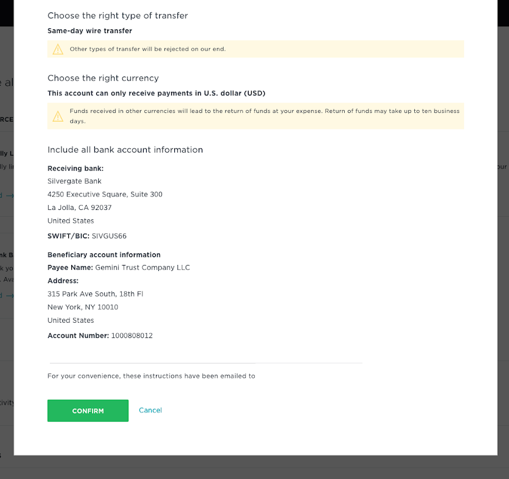
Do note that the funds have to be sent in from your Internet Banking account, and cannot be done through Gemini. By pressing ‘Confirm’, you are merely closing the pop-up window, not sending a transaction to Gemini.
After you have sent a wire transfer to Gemini, please allow for up to 24 hours for the funds to be deposited into your Gemini account.
Buying Cryptocurrencies with Gemini
Once a source of funds has been linked successfully to your account, you can start purchasing cryptocurrencies.
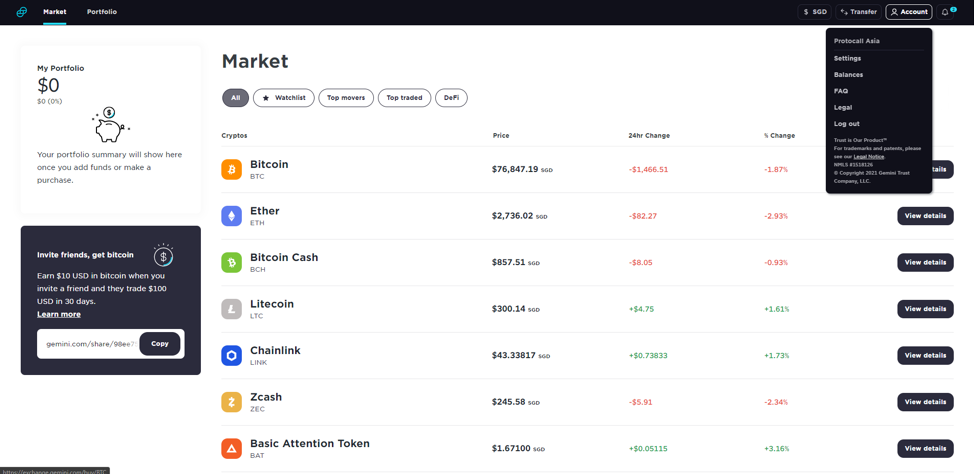
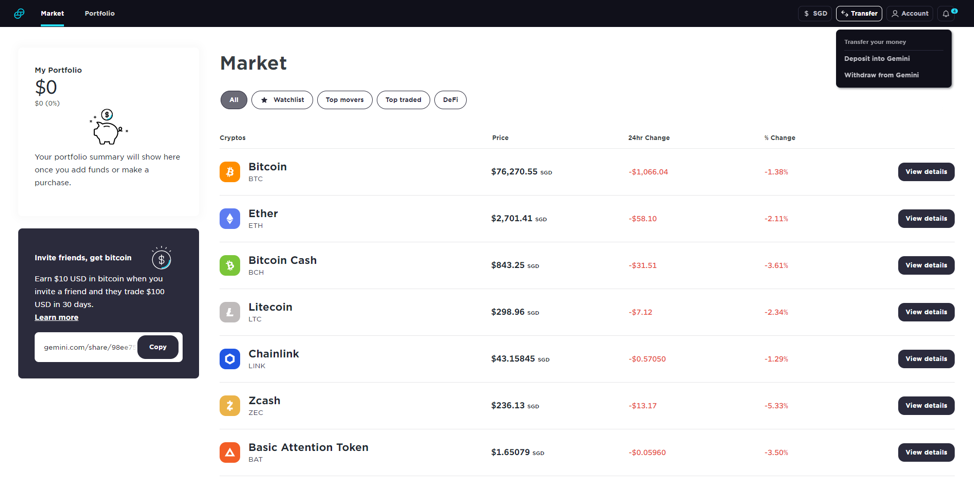
From the main dashboard on Gemini, you can see the list of cryptocurrencies available for purchase.
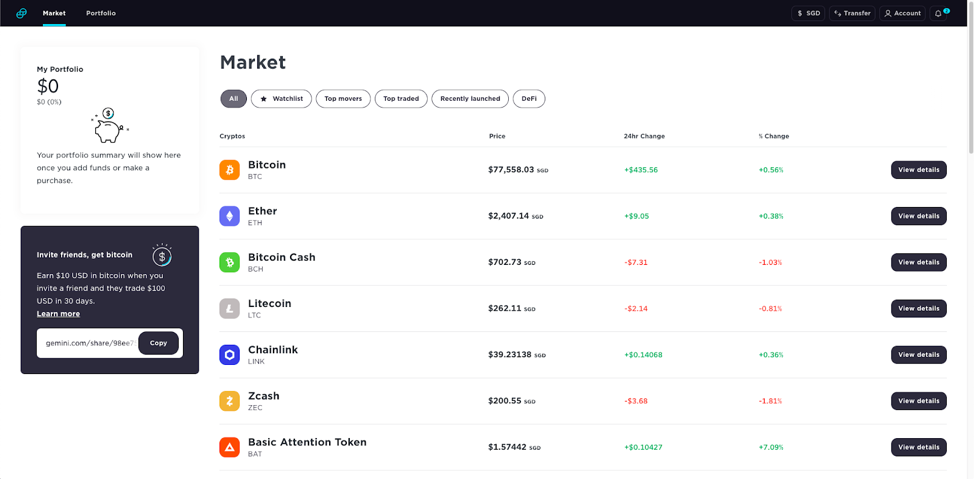
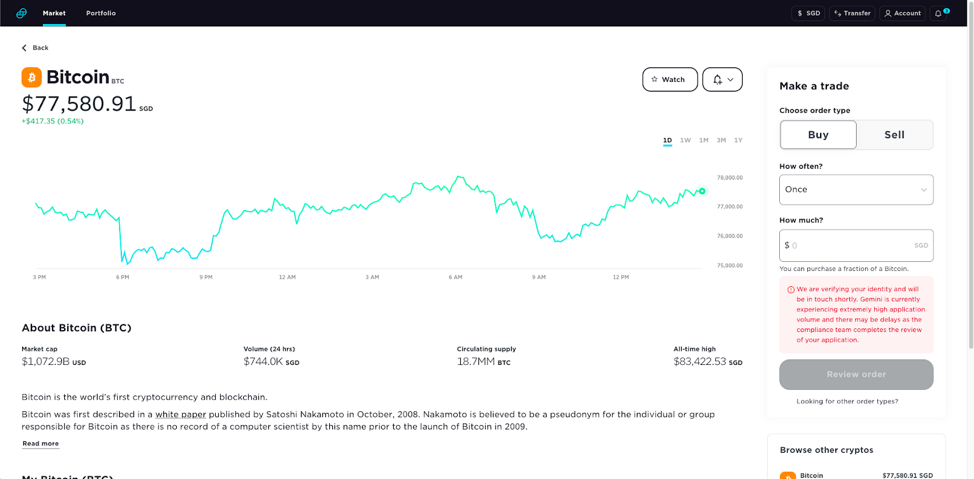
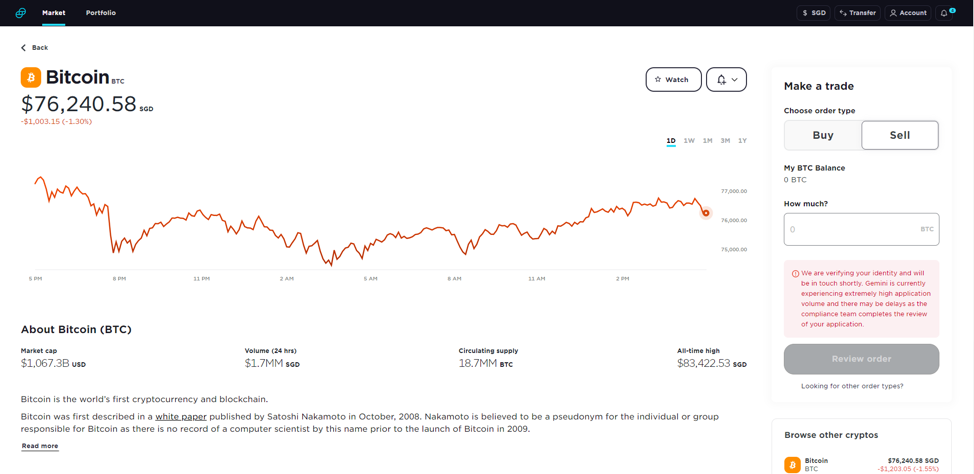
For example, if you click on Bitcoin, you will be brought to the following page:
From here, you may select how much money to invest in bitcoin, as well as how often you wish to purchase bitcoin (e.g once a week, once a month etc.)
Viewing Your Assets on Gemini
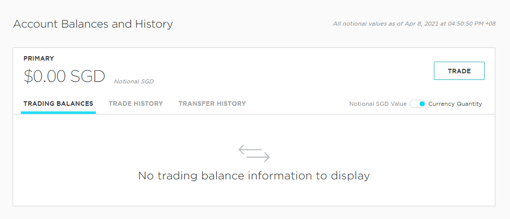
To see what digital assets you have on Gemini, click on the ‘Account’ button at the top right of the page, followed by ‘Balances’.
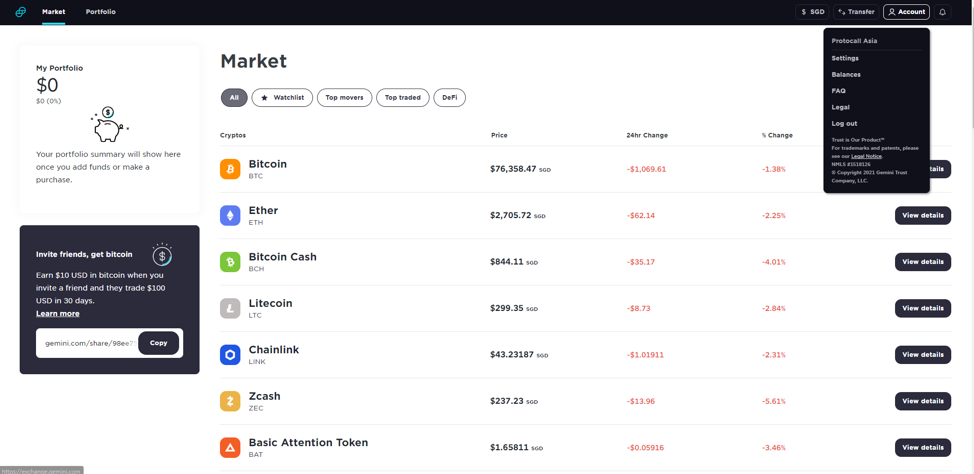
From here, you will be able to view all the tokens that you have in Gemini.
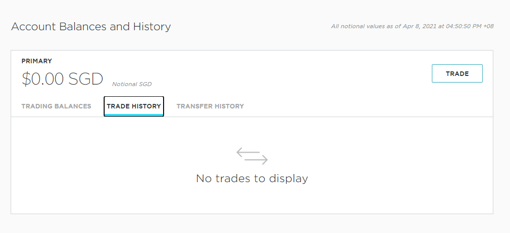
If you click on ‘Trade History’, you will also be able to view all the trades that you have carried out. This is a simple way of keeping tabs on all of your entry and exit prices.
Selling Cryptocurrencies with Gemini
If you want to sell your cryptocurrencies on Gemini, you may do so from the main dashboard page as well.
From the main dashboard on Gemini, you can see the list of cryptocurrencies that you have available for selling. Clicking on the token will bring you to the following page:
From here, click on the ‘Sell’ option, and type in the amount you wish to sell.
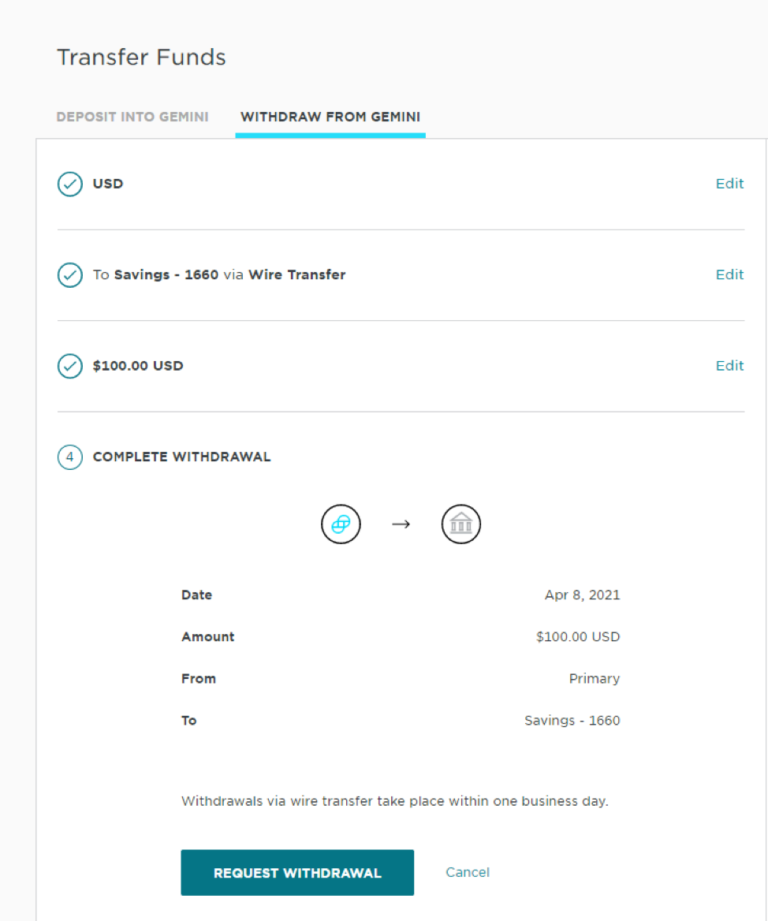
Withdrawing Money from Gemini
If you have sold any cryptocurrencies, the money will be in your Gemini account. If you want to spend the money you’ve earned, you first have to withdraw the money into your bank account.
From the dashboard, click on the ‘Transfer’ tab on the top right of the page followed by ‘Withdraw from Gemini’.
From here, fill up the information in the following fields:
- Type of withdrawal (USD, SGD, etc)
- Which account to send the money to
- The amount of money to withdraw
Once you have filled in these fields, confirm your withdrawal by clicking on ‘Request to Withdraw’. The money will be sent into your account within 1 business day.